Super Sewing Techniques
Shave a Sleeve Cap
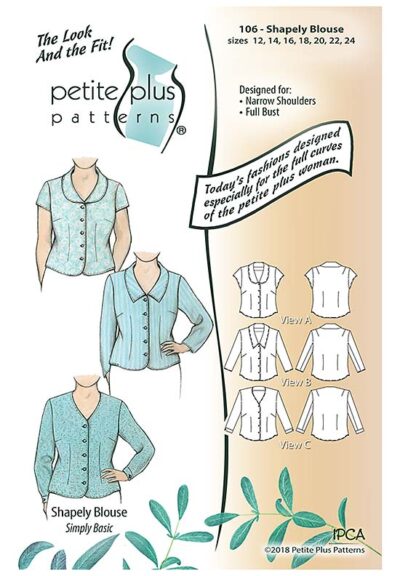
The sleeve on our Shapely Blouse #106 has a pretty full cap – about 11% ease; good if you’re tailoring and very comfortable on a full upper arm. With this kind of ease, you can get a rolled sleeve cap that is beautiful in a wool or a linen blouse.

You May Want Less Ease
With some fabrics, especially the ones with a tighter weave and a stiffer hand, you may prefer a sleeve cap with less fullness to insert in the armhole of your garment.
When a sleeve has more ease than wanted for a fabric type, the pattern maker or tailor will sometimes shave the cap.
Here’s how to shave the cap.
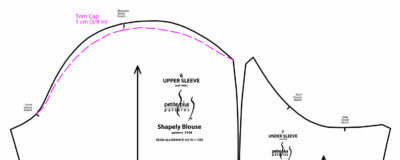
To shave the cap and reduce its ease, start at the shoulder notch of the sleeve pattern. Measure down from the cut line 1 cm (3/8 in) and mark. Next, use a fashion curve (or draw free-hand) to create a lower cut line, below the cap edge, blending back to the original line at Front Sleeve Notch and the Back Sleeve seam. Trimming or shaving the cap like this can reduce ease to about 8% and make your sleeve easier to install smoothly.

If you want to shave more off the cap, you can, but with a two-piece sleeve you’ll need to extend the new cut line into the under sleeve.

Go Slow
Be conservative when shaving a sleeve cap. The fullness of a cap on a set-in sleeve not only affects the appearance and the hang of a sleeve, it also impacts how comfortable it is to wear.
Experiment with a trial sleeve cap made from your fashion fabric. Shave a small amount from the cap, then see how it looks in your armhole.
Learn More
Inserting a sleeve with a smooth cap is a skill that takes experience to acquire. To learn more on this topic and see how our tailor prepares and sets a sleeve to an armhole, we suggest Construct the Princess Seamed Blazer, available in DVD or VHS format.

As with most pattern adjustments, we recommend that you make your changes to a copy of the pattern piece and leave your original intact.


